
Switch it off
Move the activation lever on the side of the mechanism to OFF (lever pointing down). The exoskeleton is now under no tension.
Always set the lever to OFF before putting the exoskeleton on or taking it off.
Follow these illustrated steps to fit the exoskeleton to your body, then dial in the support for the job at hand. A few minutes now means better comfort and better protection, every shift.
Two quick things before you put the exoskeleton on: switch it off and release every strap. That's what makes putting it on quick and safe.
Move the activation lever on the side of the mechanism to OFF (lever pointing down). The exoskeleton is now under no tension.
Always set the lever to OFF before putting the exoskeleton on or taking it off.
Open the chest buckle and unclip both thigh buckles. Every strap should hang free before you put the exoskeleton on, so your arms and legs slide through without a fight.
Six steps to put the exoskeleton on and adjust it to your body. Take your time the first time around — a good fit is where all the comfort comes from.
Start with the shoulder straps: slide one arm through, then the other, exactly like a backpack, until the straps sit square on your shoulders.
Hold the buckle open and pull on both sides of the chest strap to create some slack.
Now close the chest buckle and tighten it until it feels snug — firm, but never restrictive.
Lever on one side = free (adjustable). Lever on the other = locked.
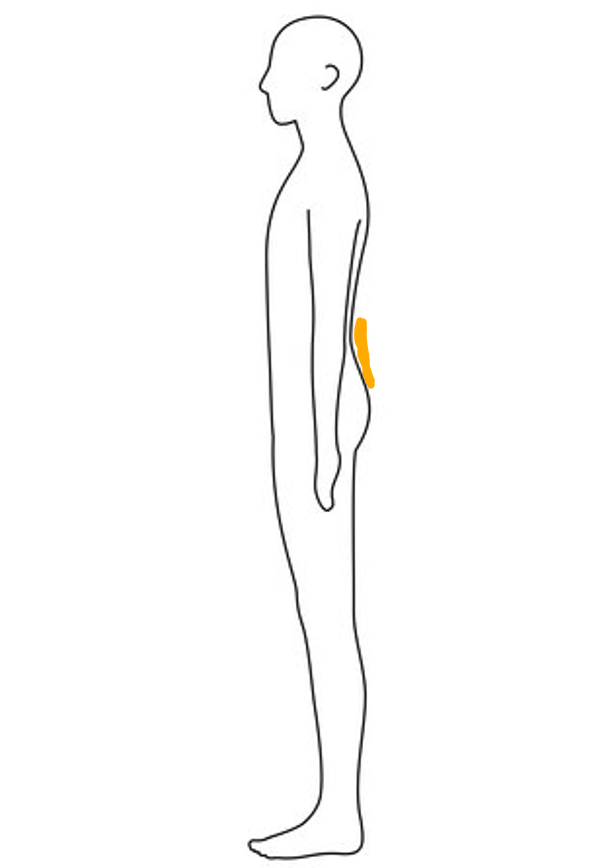
Adjust the height of the lumbar pad with the straps: pull the straps to move the pad up, give them slack to let it drop down.

Sit the lumbar pad in the hollow of your lower back, just above your buttocks, squarely in the lumbar region. That contact point is what delivers the support where it belongs.
Close the thigh buckle, then adjust how tight it sits with the hook-and-loop strap. Finish by locking it in with the metal buckle.
The metal buckle secures the strap — it doesn't tighten it. Tightening is done with the hook-and-loop strap.
Once the exoskeleton is fitted, two controls are all you need to match the support to the task: the activation mode and how much force it delivers.
Found on the side of the mechanism, this lever sets the support mode and the angle at which the force kicks in.
No support, no tension. Use it to put the exoskeleton on or take it off, and any time you're not lifting.
Support on, low engagement angle: the force kicks in later in the bend. Best for working on your knees.
Support on, high engagement angle: the force kicks in earlier in the bend. Best for working on your feet.
Use the dial to match the level of assistance to how heavy the work is.
Clockwise = more force. Counterclockwise = less force.
Fine-tuning beyond the basic fit, based on your build.
The thigh arms adjust to three positions based on your height. Pick the one that matches you so the support lands on the right spot on your thigh.
| Setting | Height |
|---|---|
| S | Under 5'4" |
| M | 5'4" to 5'9" |
| L | Over 5'9" |
Always set the lever to OFF before putting the exoskeleton on or taking it off — and any time you're not lifting.
A pad seated properly in the hollow of your lower back puts the support exactly where you need it, and keeps the fit comfortable.
Our team is here to help you get the fit and the settings right. Reach out — we answer fast.